
Just screw it.
I love a good project as much as the next guy, but lately I haven't had much ambition to take on anything too big. Ever since we moved into our new house we've had plan of installing some lighting above our dining room table, but the thought of putting more money or time into this house was a hard pill to swallow. Despite my laziness, when 8 new Plumen bulbs showed up on my doorstep, I just had to do something with them. So I took the easy way out.
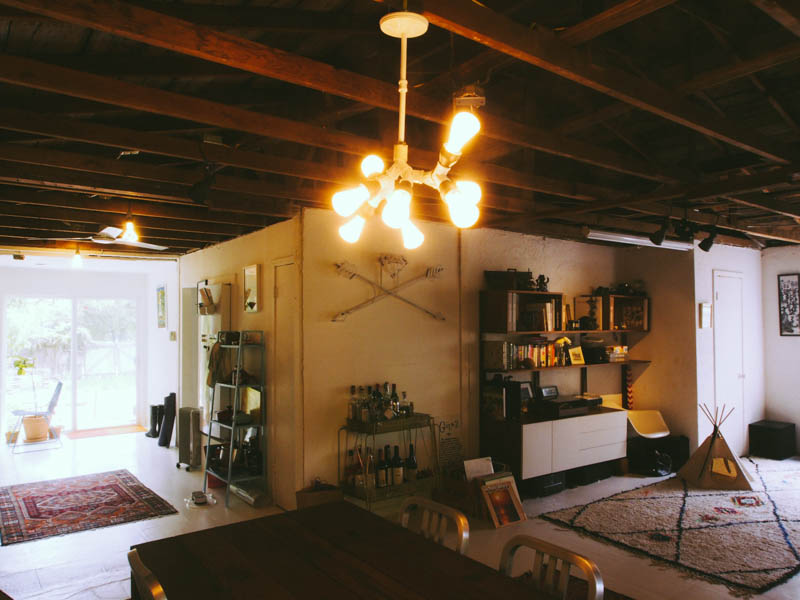
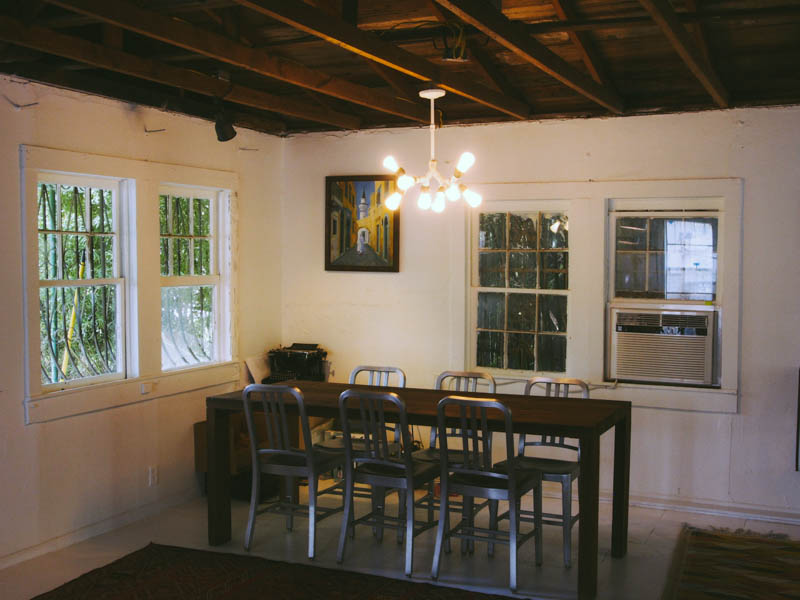
Enter the DIY Chandelier, just screw it edition.
This idea has been kicking around my head for some time now. I'm sure I'm not the first one to think of it, I probably saw it on Pinterest or somewhere once upon a time. The secret to this chandelier is it's all about the bulb. You could dramatically change the look just by switching out the style of decorative bulb.
So, here is what you need.
1. I would suggest at least 8 bulbs. You can go bigger if you want to, the sky is the limit. Mine are from Plumen. Nope, they weren't cheap.

2. You need one less twin socket than your number of bulbs. In this case 7. I got mine from Home Depot for $2.50 each.

3. Last step. Screw it all together. Again, sky is the limit. I tried a few different combinations to see what I liked best. Ultimately I settled in on a fairly symmetrical design that is predominantly lateral. I would have done a more asymmetrical layout but I didn't like how it made my chandelier hang crooked.

All together, aside from the price of the bulbs it cost under $20 and took about 10 minutes to put together. Obviously I'm a realtor not an electrician, so if you are going to try this out do it at your own risk. Ohh, and send me pictures of the finished project. :)